Intro
The Dumble ODS is not my first amp build, so I had some idea of what I was getting into when I set out to build it, but up until now, I had built exclusive Fender amps–a Tweed Champ and a Super Reverb specifically.
Because those are ubiquitous, kits and vintage style replacement parts are easy to come by, so very little actual planning needed to go into it. It was more of an exercise in just making sure I ordered everything I needed.
This build was a little more complex. A few versions of the Dumble ODS are quite well documented, but there’s not as much of a clone build market around it compared to Fender and Marshall, so things needed to be sourced a bit more carefully.
I broke the planning down into 3 stages: The Guts, The Transformers, and The Hardware.
The Guts
There’s relatively a lot going on in a Dumble, and I knew from my experience building a Super Reverb that doing a complex amp fully point-to-point was a pretty time-consuming and error-prone adventure.
This is where AA Electronics comes in. They make PCBs for amp clones, including the Dumble ODS, which allows you to use one board to build 102, 124, or 183. They also provide schematic, layout, and a bill of materials. No excuses now!
As I have done in my previous amp builds, for resistors, I picked 1%, low tempco, metal film everywhere I could. Metal film is less noisy compared to vintage style carbon comp, which is often a popular choice in Fender-style amps. I also overrated them in terms of power requirements versus what you might see in a Fender Twin. It turns out, the AA Electronics BOM recommends metal film and overrated power specs, too, so that was nice to see.
For capacitors, I tended towards Orange Drops for signal path and F&T for Electrolytics. There were a few spots where other brands were chosen, but in my experience those two brands are reliable and consistent, so I stuck with them where I could.
Once I got the board and the parts order in, I populated the board:
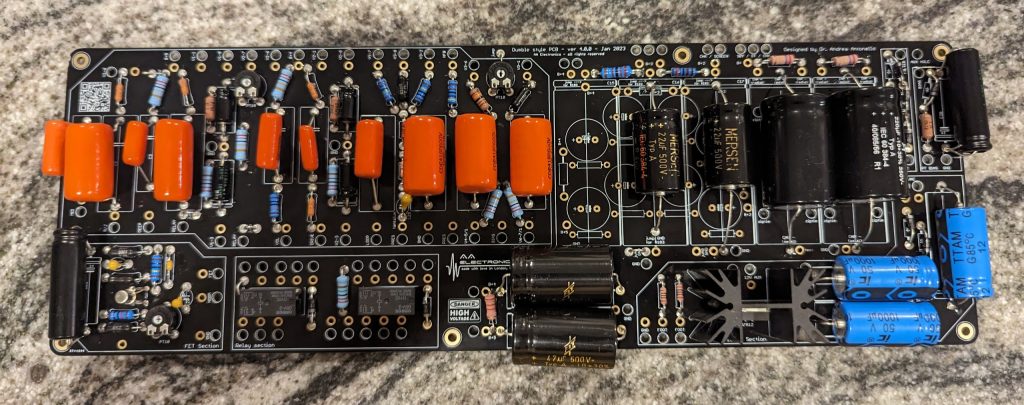
If you look closely, you might notice that I landed some of the smaller filter caps in the wrong terminals. Luckily I caught this before firing the amp up for the first time. I’d say this was the most challenging part of the build–all 3 versions of the ODS had different power filter sections, and the board accommodates them all, plus accommodates radial and axial caps. So in some spots, it’s easy to make a mistake.
The Transformers
Choke and output transformer were an easy choice. Fender Twin Reverb reissue transformers fit the spec wonderfully, and are easy to get. I already had a brand in mind: I have had fantastic luck with Hammond transformers. They sound great in my Super Reverb build, and they have taken a beating being dragged around and abused at band rehearsals and gigs.
The power transformer was one of the more challenging decisions to make in the build process. A Twin Reverb power transformer is a good choice for the high voltage supply, power tube bias, and heaters, but the ODS uses 12VDC relays to engage the overdrive channel and PAB, and that isn’t readily available on a Twin Reverb PT.
The AA board includes a section of the board to take a 6VAC signal and runs it through a voltage doubling rectifier circuit and a 12VDC regulator to provide 12VDC to the relays. But nothing that I could find in Hammond’s lineup had an auxiliary 6V secondary tap in addition to the taps listed above.
I had a few options. 1) Mercury Magnetics makes a PT for the Ceriatone ODS clone which has a 6V auxiliary rail tap because Ceriatone also uses a voltage doubler. So that would drop in cleanly. It would also cost like twice as much as a Hammond.
2) I could try to power the voltage doubler with the heater tap–roughly 6VAC. As long as the heater tap was properly rated in terms of current consumption, this likely would have worked. But I hadn’t seen anyone else doing it, and I wondered if there was an impact on noise or something I was overlooking. Not a risk I wanted to take just to have to tear the amp apart and start over with a new PT.
3) Twin Reverb PT + standalone stepdown transformer. The third option I saw was to get a cheap, small stepdown transformer, wire it up in parallel with the big power transformer, and power the voltage doubler that way. This was the most cost effective choice, and lower risk than option 2, so this is what I did.
I found a 120V to 12V stepdown on Amazon with a center tap. I wired the primary side up in parallel with the Twin PT. On the secondary side I used one leg of the 12V and the CT (so, 6VAC) to power the voltage doubler circuit, and it worked perfectly.
With this stepdown transformer, I also had the option of turning the voltage doubler into a bridge rectifier and powering the regulator with all 12VAC rectified, or running the relays off 12VAC with no rectification. I decided to use the board as designed ultimately.
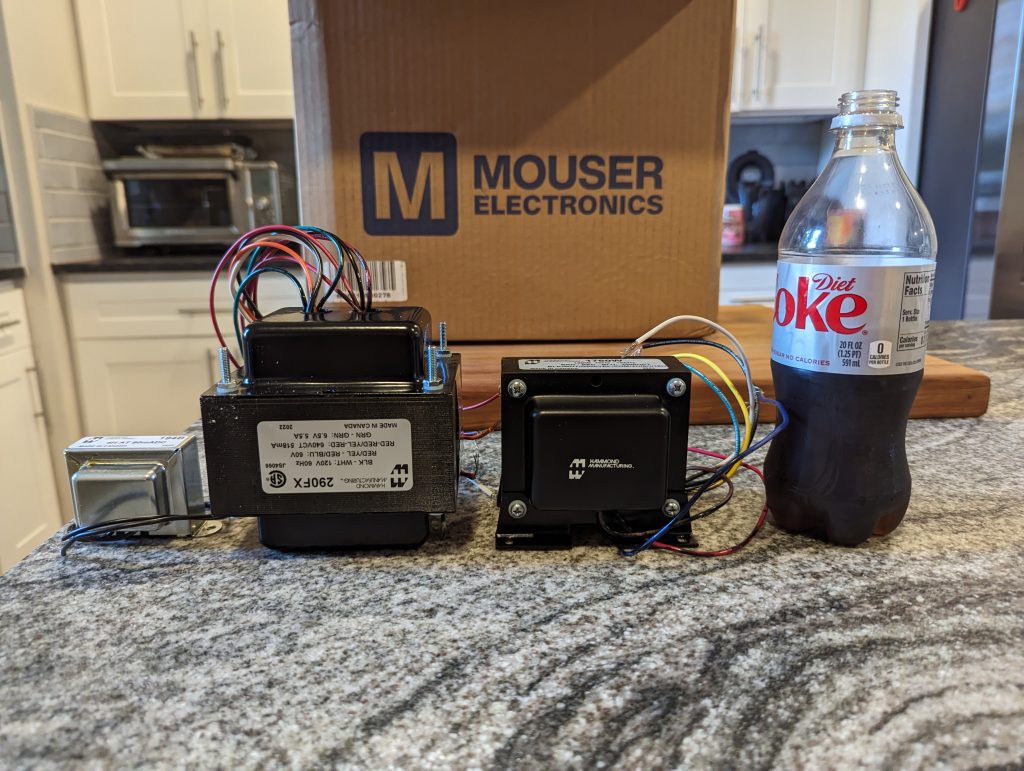
These Twin Reverb transformers are massive and heavy (diet coke for scale, and for the required caffeine to build an amp).
The Hardware
Hardware is the part of building an amp I’m worst at. I’m sure some people fabricate their own chassis, build their own cabinets, etc. I don’t have the wherewithal to do this, so I wanted some off-the-shelf options. There were a few choices, but I ended up going with chassis, faceplate, backplate, and a cabinet from Modulus Amplification.
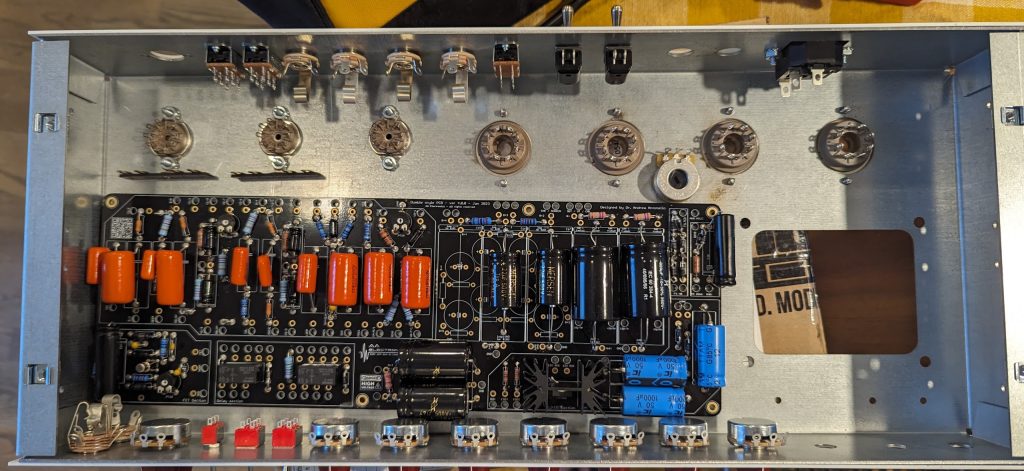
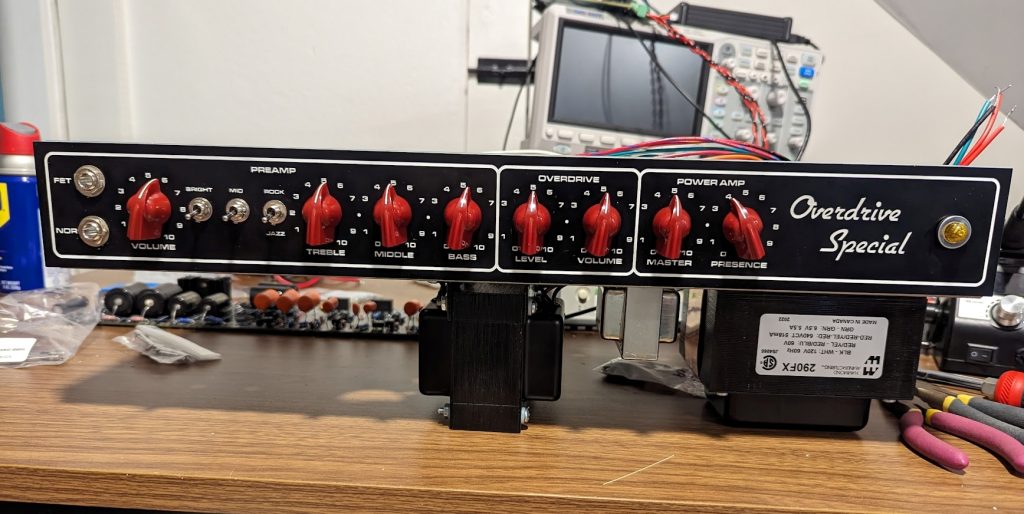
The chassis is heavy gauge and feels very sturdy, the plates were a flexible material instead of being like a hard acrylic, which I found quite nice to work with. There were a few pitfalls here. Some of the switch types specified by AA Electronics were different from the ones pre-drilled for by Modulus, so I had to make sure I ordered the right things. The Modulus naming scheme is also slightly different from the AA naming scheme (“Mid ” instead of “Deep”, for example) but that was extremely straightforward to figure out. Additionally, the Hammond transformers didn’t perfectly drop in to the pre-drilled holes, so I had to drill some holes to accommodate them in spots–this is about the extent to which I was willing to work on the mechanical part of the build, apparently.
All in all, everything fit together quite well so far. I am still waiting on the Cabinet to be built and delivered, but I have no real concerns about fit since I ordered it from the chassis manufacturer.
Conclusion
With all these decisions made and orders placed, I was able to complete the amp build, and I currently have a working Dumble ODS sitting up on blocks. Once the head cabinet arrives, I’ll make a new post of completed build pics and some tone clips.

